Click in images for larger view
American Models GP-35 TMCC
Conversion
Click in images for larger view
 |
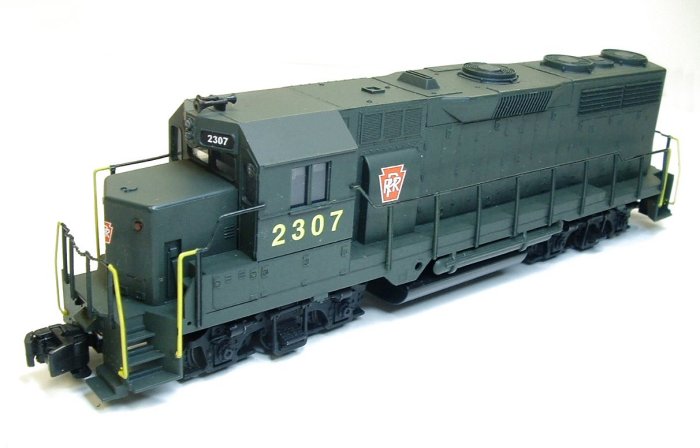
I picked up this used GP-35. It started life in
C&O paint. Now here it is repainted in Pennsy colors to fit in my
layout scheme. So I had to convert it to TMCC as well. |
| I drilled out the marker lights and installed LEDs The Number boards and headlights are working also. |
 |
 |
The loco uses an ERR Mini Commander with Loco
firmware. It is programmed as a type 6 so the lighting is
directional. I made a heatsink to mount it to the chassis. The
flywheel has to be removed to make room for the board. Therefore I also
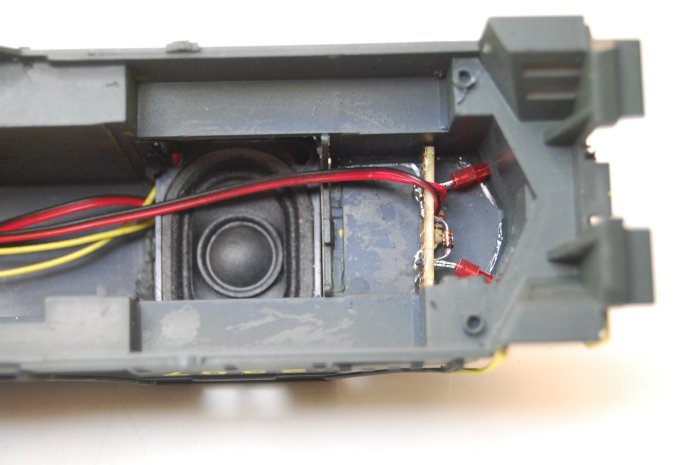
used the low speed gearing available from American Models The loco is also equipped with the new RailSounds board from ERR. It was a very tight fit but it worked out. I made a mounting bracket from sheet brass and used 1/16" foam tape to mount the board. I trimmed any protruding component leads on the board so they would not pierce the foam and short out. |
| The board has to be carefully centered on the mount
to clear the drive shaft. The clearances are tight. I used a 2 pin
connector set for the lighting wiring so the shell can be fully removed. |
 |
 |
The motor has to be rotated 90 degrees so the connections are vertical for clearances. The motor was also moved forward 1/16" to clear the sound board." |
| The speaker is mounted in the Cab roof. The Cab
snaps off and makes the installation easier. A hole was drilled behind
the headlight lenses for a 3mm LED and wired before the speaker was
mounted. A board was added for the front marker lighting too. |
 |
 |
Here is the rear lighting board that has the
marker, headlight and number board lighting. |
| The top of the shell comes off and made a good place to stash the lighting wiring so it was out of the way. | 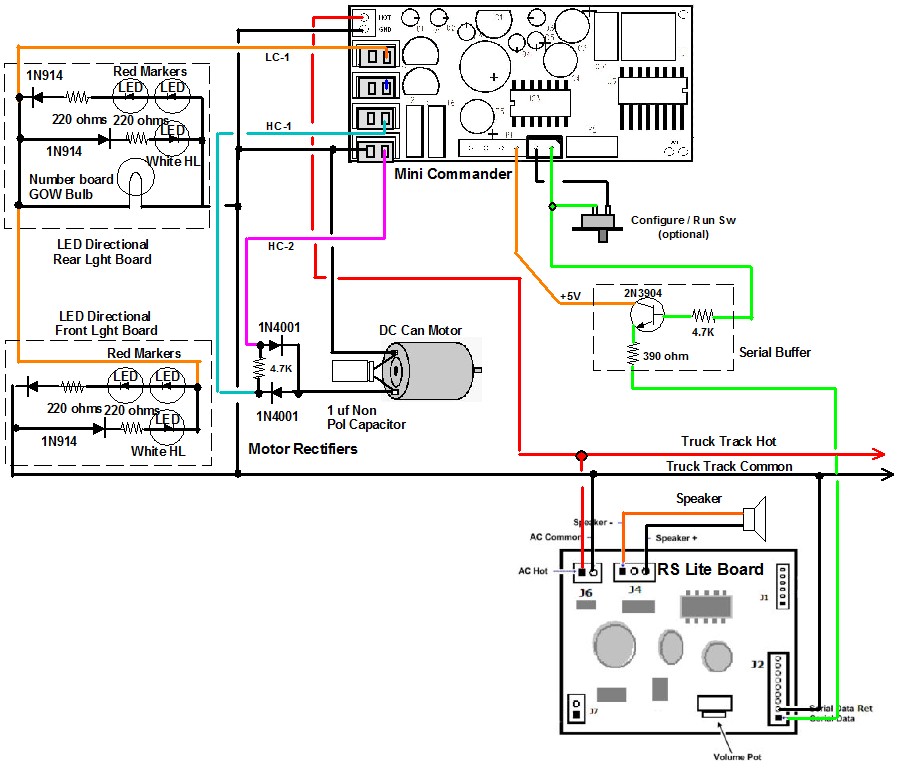 |
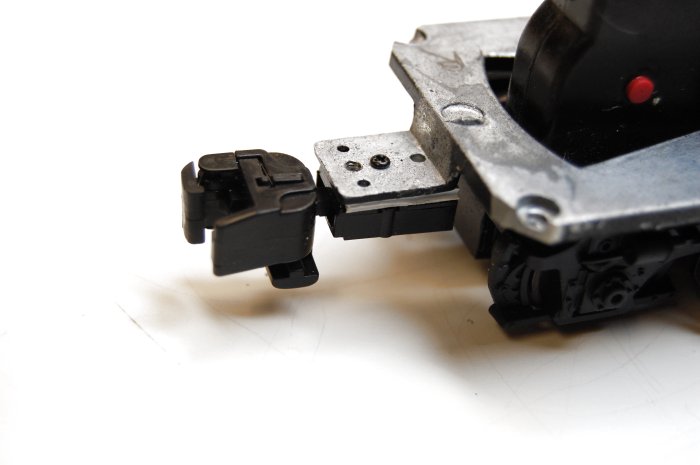 |
I changed the couplers to SHS SW-9 pocket couplers. This will make conversion to Kadee couplers easy later. |
Wiring diagram |
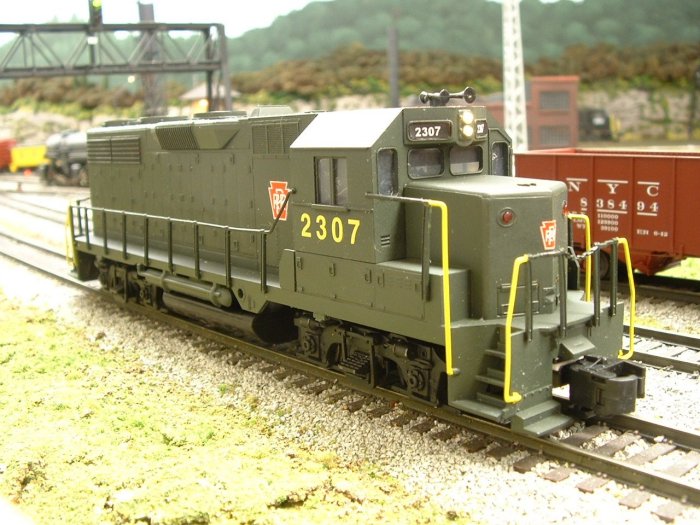
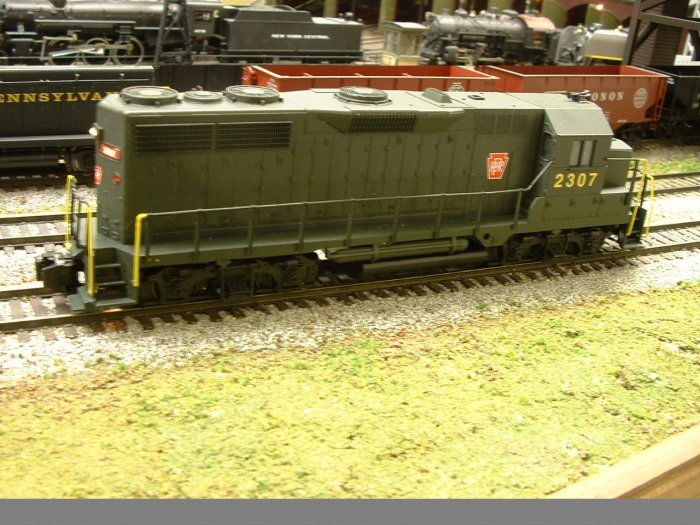 Here is is on the layout. Looks right at home. |